How-to
How to separate embroidery floss strands without tangling
Published
Short answer
Cut a length of at most 18 in (50 cm), tap the cut end so the six strands fan out, and pull one strand straight up while holding the rest loosely. Repeat for each strand the pattern asks for, then lay the strands back together and thread the needle. Pulling one strand at a time is what prevents tangles.
Embroidery floss, also sold as embroidery thread or stranded cotton, is six fine strands twisted lightly into one length. Patterns almost never use all six at once. A cross stitch pattern on 14 count aida usually says 2 strands, and surface embroidery uses anything from 1 to 6. The strands have to be taken apart before stitching, and how they are taken apart decides whether the rest of the length stays smooth or ends up in a knot. Every length of floss starts with this job, so it is worth learning the method that works every time.
How to separate embroidery floss strands, step by step
The method is the same for every brand of six-strand floss and for any number of strands. You need the skein, scissors and a flat surface to lay the strands on.
- 1
Find the end of the floss under the larger bottom label, the one with the barcode and color number. Pull it out slowly and leave both labels on the skein.
- 2
Pull out at most 18 in (50 cm), about fingertip to elbow, and cut it with sharp scissors. A cut at a 45 degree angle makes threading easier later.
- 3
Tap the cut end with a fingertip a few times until the 6 strands fan apart and you can see each one.
- 4
Pinch the length loosely near the top with one hand. With the other hand grip 1 strand and pull it slowly straight up. The other 5 strands bunch up below your fingers.
- 5
Let go of the bunch and run your fingers down it once so the 5 strands hang straight again. Lay the pulled strand flat on the table.
- 6
Repeat steps 4 and 5, 1 strand at a time, until you have the number the pattern asks for. On 14 count aida that is usually 2.
- 7
Lay the pulled strands side by side with their ends level, smooth them once from top to bottom, and thread them through the needle together.
Note.Keep the length at 18 in or under. A longer piece is harder to pull a strand from and knots more while stitching, as the thread length guide explains.
How to tell the floss is separated correctly
Separating one length takes under a minute once the motion is familiar. These checks show it went right, before the needle goes into the fabric.
- While you pull, the remaining strands bunch up and then fall straight when released. A bunch that will not drop out means two strands came up together.
- Each pulled strand hangs straight, with no curl and no kinks along its length.
- The recombined strands lie side by side like a flat ribbon. They are not wound around each other like cord.
- The number of cut ends at the top matches the number of strands the pattern asks for.
- The strands left over are still a smooth group that can be separated again later.
Why pulling two strands at once tangles
The six strands are twisted around each other along the whole length. A single strand slides out along that twist. The others ride up into a bunch, and the bunch relaxes as soon as the strand is free. Two strands pulled together stay wrapped around each other and drag the twist with them. The bunch tightens instead of relaxing, and the result is a knot in the middle of the length.
There is a second reason to pull strands singly, even when the pattern uses all six. Strands that have been separated and laid back together sit parallel in the needle. Parallel strands spread out on the fabric and cover it more fully than strands still twisted together, and they are less likely to twist into a cord while stitching.
How many needlefuls one cut length gives
One 18 in length holds six strands, so it threads the needle more than once. The table shows how far a single cut goes. A whole 8 m skein cut at 50 cm gives 16 lengths, which is 48 needlefuls at 2 strands. If the pattern does not say how many strands to use, the strands chart lists the usual number for each fabric count and stitch.
| Strands in the needle | Needlefuls from one length | Strands left over |
|---|---|---|
| 1 | 6 | 0 |
| 2 | 3 | 0 |
| 3 | 2 | 0 |
| 4 | 1 | 2 |
| 5 | 1 | 1 |
| 6 | 1 | 0 |
Separating floss for a loop start
A loop start anchors the thread without a knot, and it changes the cutting step. For 2 strands, cut the floss twice as long, about 36 in (100 cm), and pull out just 1 strand. Fold that strand in half and thread the two cut ends through the needle together. The fold becomes the loop that holds the first stitch. The loop start guide covers the stitching.
Pull more slowly than usual, because a strand twice as long has twice as far to slide. One 36 in cut gives 6 needlefuls of 2 strands, so nothing is wasted compared with the standard cut. The method works only for an even number of strands in the needle: 1 folded strand for 2, or 2 folded strands for 4.
What to do with the leftover strands
After two strands come out of a length, four are left. Do not leave them loose on the table or drop them in a bag with other colors. Without the number, a leftover strand is hard to match to its color, and close shades look the same in lamplight.
Keep leftovers with their own skein. Wind them back onto the bobbin, loop them onto the floss drop next to the full lengths, or put them in the bag with the skein. Use them first next time that color comes up. The page on how to store embroidery floss compares the systems and shows which ones hold loose strands best.
Note.During a session, lay leftover strands over the arm of the chair or the edge of the hoop, one color per spot, so they stay straight and in reach.
Thread that does not separate: pearl cotton
Not every embroidery thread is divisible. Pearl cotton is a single twisted thread and is used as it comes. It is sold in sizes 3, 5, 8 and 12, where size 3 is the thickest, and the thickness is chosen by size instead of by strand count. If the end of a thread does not fan into six strands when tapped, check the label before trying to split it. The floss sizes chart compares stranded cotton with each pearl cotton size.
Quick answers
Short answers on separating floss. The rule behind all of them is the same: one strand at a time, pulled slowly straight up.
- How do you separate embroidery floss? Cut at most 18 in (50 cm), tap the end to fan the strands, and pull out one strand at a time while holding the rest loosely.
- What is the best way to separate embroidery floss without tangling? Pull single strands straight up, never two together, and let the remaining strands hang straight between pulls.
- Do I need an embroidery floss separator? No. The standard method uses only fingers. The tip of a needle helps lift one strand when the end is hard to grip.
- How do you prepare embroidery floss? Pull the end from under the numbered label, cut a length, separate the strands and lay the needed number back together. A needle threader helps with several strands.
What you need for this
 See price on AmazonAmazon
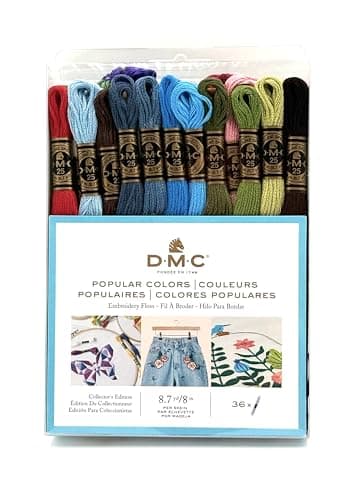
DMC six-strand floss, 36 popular colors, 8.7 yd
From Best embroidery floss for hand embroidery: brand sets compared
 See price on AmazonAmazon
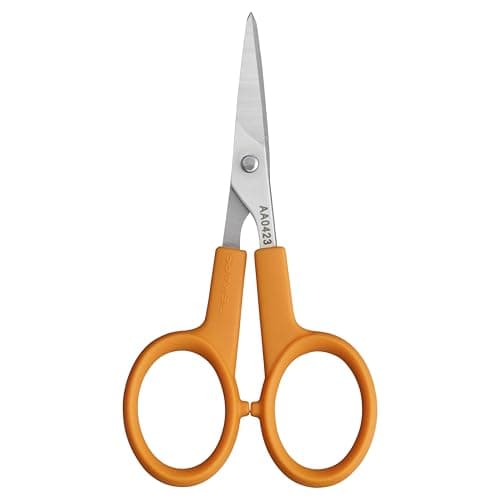
Fiskars 4 in curved embroidery scissors, stainless
From Best embroidery scissors: small, sharp and curved-tip picks
 See price on AmazonAmazon
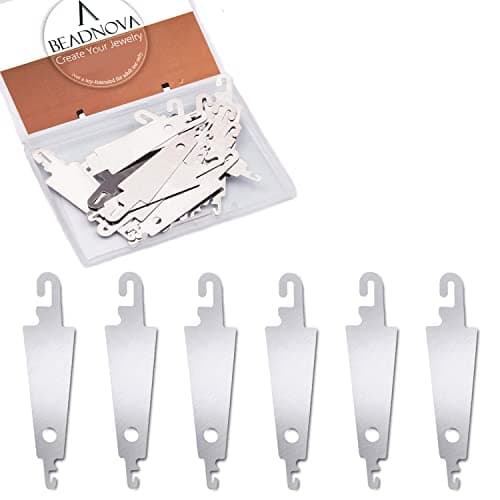
BEADNOVA stainless steel needle threaders, 20 pcs
From Best embroidery needle threaders for multi-strand floss
 See price on AmazonAmazon
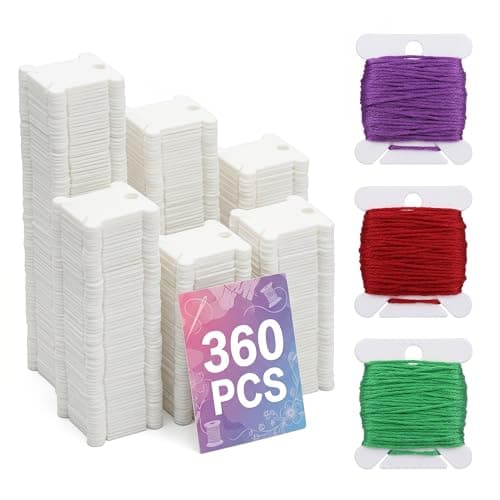
The Little Green Change plastic floss bobbins, 360 pcs