Can you cross stitch on clothes?
Published
As an Amazon Associate we earn from qualifying purchases. This does not change our picks. Affiliate disclosure
New to Prime? Try Prime free for fast, free shipping on eligible items.
Gear for this job
All 7 picks comparedSulky Stick 'n Stitch printable sheets, 12 pack
See price on AmazonSee it on AmazonFURWEY Water Soluble Stabilizer, 12 PCS
See price on AmazonSee it on AmazonNUITPY sticky water soluble stabilizer, 50 sheets
See price on AmazonSee it on Amazon
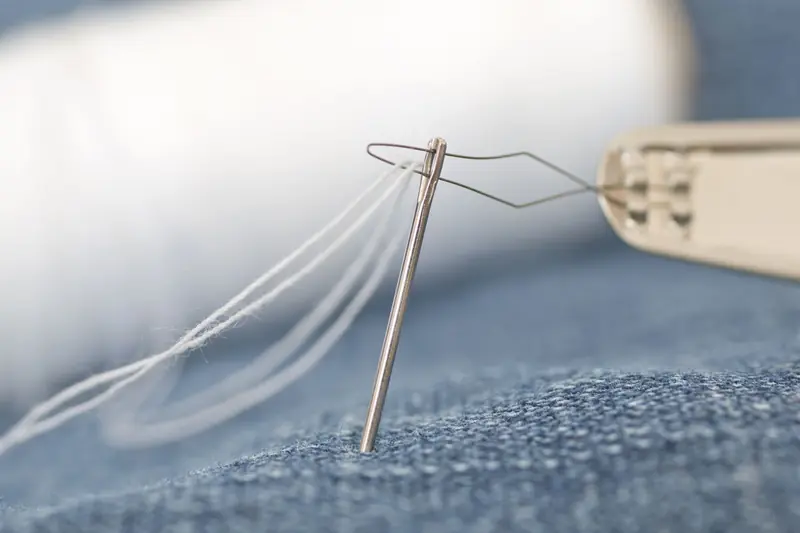
Yes, you can cross stitch on clothes. Because shirts, jeans and jackets have no countable grid, you add a temporary one: waste canvas basted on top, or a printed water-soluble stabilizer stuck to the fabric. You stitch through it and the garment together, then pull or rinse the grid away, leaving neat cross stitches on the clothing. Woven fabrics such as denim and cotton shirting are easiest; knits like T-shirts need a stabilizer behind to stop stretching.
Method 1: waste canvas
Waste canvas is a stiff, loosely woven canvas held together with a water-soluble sizing. It is sold by count, commonly 8.5, 10, 14 and 18, and you choose the count the same way as aida: 14 count gives a design the same size as on 14 count aida. Cut a piece at least 1 inch larger than the design on every side and baste it to the garment with large running stitches, keeping its threads straight with the garment's grain.
Stitch the design through both layers with a sharp embroidery needle, not a blunt tapestry needle, because you have to pierce the garment fabric. Work each X over one canvas square and keep tension even but not tight. When you are done, remove the basting, dampen the canvas to soften the sizing and pull the canvas threads out one by one with tweezers, working each thread in one direction. The stitches stay behind on the fabric.
Method 2: printed water-soluble stabilizer
The faster modern method is printable stick-and-stitch stabilizer. Print a cross stitch grid, or the chart itself with symbols, onto the sheet with an inkjet printer, peel the backing and stick it to the garment. You stitch through the paper and fabric, then rinse the garment in warm water until the stabilizer dissolves completely.
This method avoids pulling threads, and printing the chart directly means you do not need to count from a separate pattern. The drawbacks are that the sheet must stay dry until you finish, and a thick stabilizer can make the needle drag on dense fabrics such as denim. Rinse thoroughly: leftover residue can leave the fabric stiff until the next wash.
Which garments work and which do not
Medium-weight woven fabrics are the easiest: denim jackets, chambray and cotton shirts, canvas tote bags, linen dresses and cotton aprons. They hold stitches without stretching and survive washing well. Pockets, collars, cuffs and the back yoke of a jacket are popular spots because they lie flat and are easy to reach.
Knits such as T-shirts and sweatshirts stretch while you stitch, which distorts the Xs and leaves them puckered. Iron a lightweight fusible interfacing or a cut-away stabilizer to the inside first, and leave it in place afterward to support the stitches. Very thin fabrics, silks and anything that only dry cleans are best avoided for a first project. Thick sweaters with a loose knit do not hold small stitches well at all; duplicate stitch over the knitting is the usual alternative there.
Placement is worth planning before you stitch. Try the garment on and mark the center of the design with a pin or a water-soluble pen dot, since chest and pocket positions look different on a body than on a table. Keep designs away from areas that bend or rub hard, such as elbows, knees and the inside of the thigh on jeans, where stitches wear through quickly. Small motifs of 2 to 3 inches are a good first size.
Floss, strands and needles for clothing
Use colorfast six-strand cotton floss from an established brand. On 14 count waste canvas, two or three strands give good coverage; on 10 or 8.5 count, use three to six strands depending on how bold you want the stitches. Garment fabric does not fill gaps the way aida does, so it usually needs one more strand than you would use on aida of the same count.
Use a sharp crewel needle around size 5 to 7, large enough for the strand count. Keep floss lengths around 18 inches and start without knots where you can, weaving under stitches on the back. Knots on clothing can work through to the front over time, and loose tails can catch on fingers or jewelry when the garment is worn.
Hooping, finishing and washing
Hoop the area if it is large enough, but take the hoop off between sessions to avoid marks, and avoid hooping over seams. On small spots such as cuffs and collars, work in hand with the canvas or stabilizer giving firmness. Protect the back of the stitches with a soft fusible backing or iron-on tricot if the stitches will rub against skin, which also keeps tails from loosening.
Wash stitched clothing inside out on a cold, gentle cycle, or hand wash, and air dry. Avoid bleach and high dryer heat. If you are unsure about a particular floss color bleeding, test it first: stitch a few Xs on scrap fabric, wet them and press with white paper towel.
Frequently asked questions
What is waste canvas? A loosely woven canvas held together with water-soluble sizing. You stitch through it onto plain fabric, then dampen it and pull the threads out, leaving the cross stitches.
Can I cross stitch on a T-shirt? Yes, with an iron-on stabilizer behind the area to stop stretching, and waste canvas or printed stabilizer on top for the grid.
Do I need a hoop to cross stitch on clothes? Not always. Waste canvas or a stick-on stabilizer adds firmness, so small designs can be stitched in hand.
Will cross stitch on clothing survive washing? Yes, with colorfast floss, secure starts and ends, and gentle cold washing inside out.
What you need for this
- See price on AmazonAmazon
Sulky Stick 'n Stitch printable sheets, 12 pack
From Best water soluble embroidery paper for transferring patterns
- See price on AmazonAmazon
Clover Gold Eye Embroidery Needles, 16 Pack
- See price on AmazonAmazon
Nurge square plastic embroidery hoops, set of 3
From Best embroidery hoops for hand embroidery: wood vs plastic